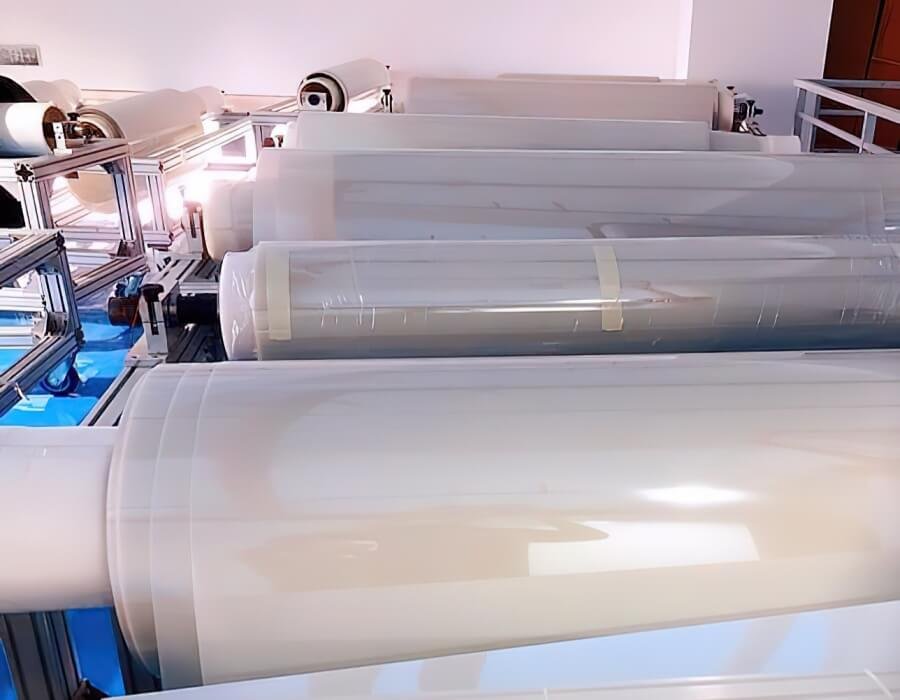
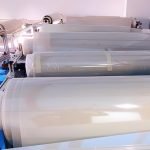
Smart Glass Co., Ltd. —— China's leading PDLC film manufacturer


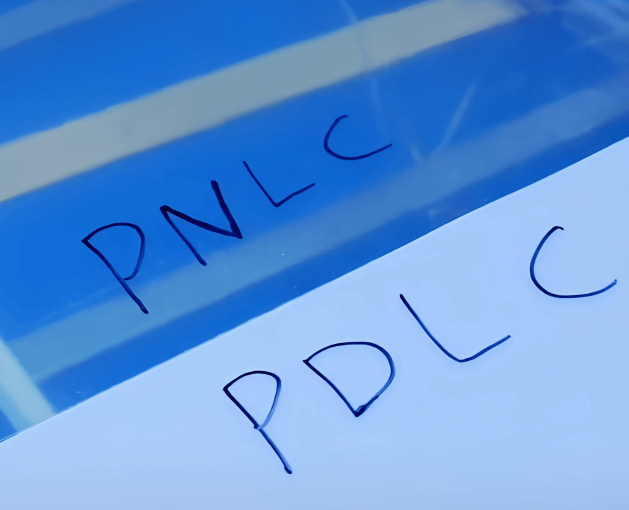
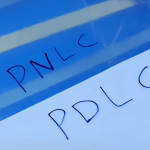
Reverse Smart Film(PNLC)★


PRODUCT PARAMETERS
Description
Reverse Smart Film(PNLC)
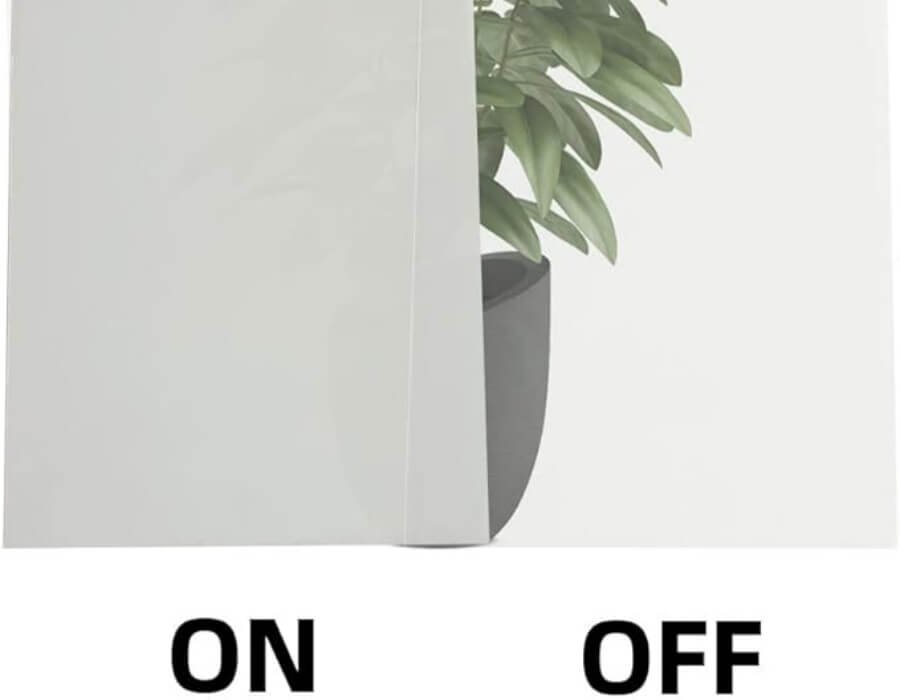
The film consists of two outer layers of polyester film (PET), internally coated with a transparent conductive layer. A layer of REVERSE-PNLC is sandwiched between the two PET substrates. Placed inside glazing by means of the oven lay-up process, switchable REVERSE PNLC film allows the colour of the glass and, at the same time, the intensity of the passage of sunlight to be varied by means of a simple electrical control.
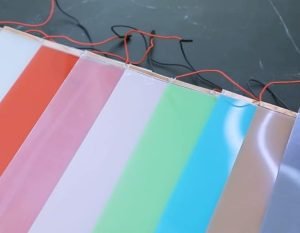
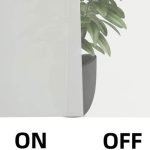
PNLC smart film is a special type of privacy glass that works a little differently than most. Unlike regular smart film, PNLC film is clear when there’s no electricity running to it. This makes it a great option for car windows – you can flick a switch and instantly get privacy without blocking the view when you don’t need it. It’s a new technology, so the price tag is still a bit high, but it’s becoming more affordable. We offer PNLC film in two ways: as an adhesive film that applies existing glass, or laminated between two panes of glass for a more permanent solution.
Working principle of Reverse Smart Film(PNLC):
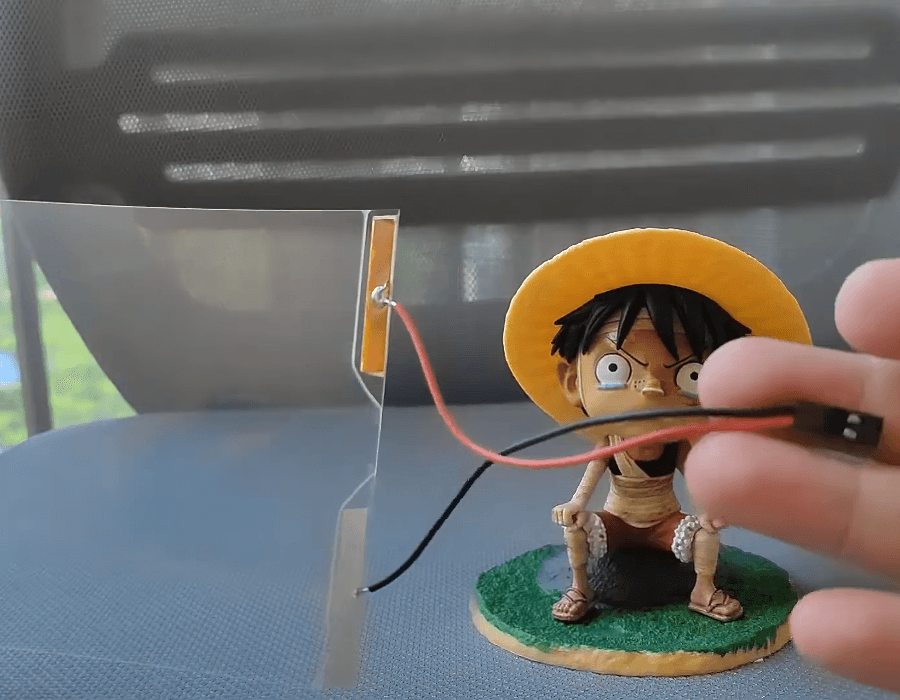
Reverse Smart Film(PNLC) electrode wiring method:
Reverse Smart Film(PNLC) Installation Instructions
1. Prepare the Glass Surface
- Clean the glass surface thoroughly to remove any dust, dirt, or grease. Use a lint-free cloth and a mild glass cleaner for the best results.
- Ensure the surface is completely dry before proceeding with the application.
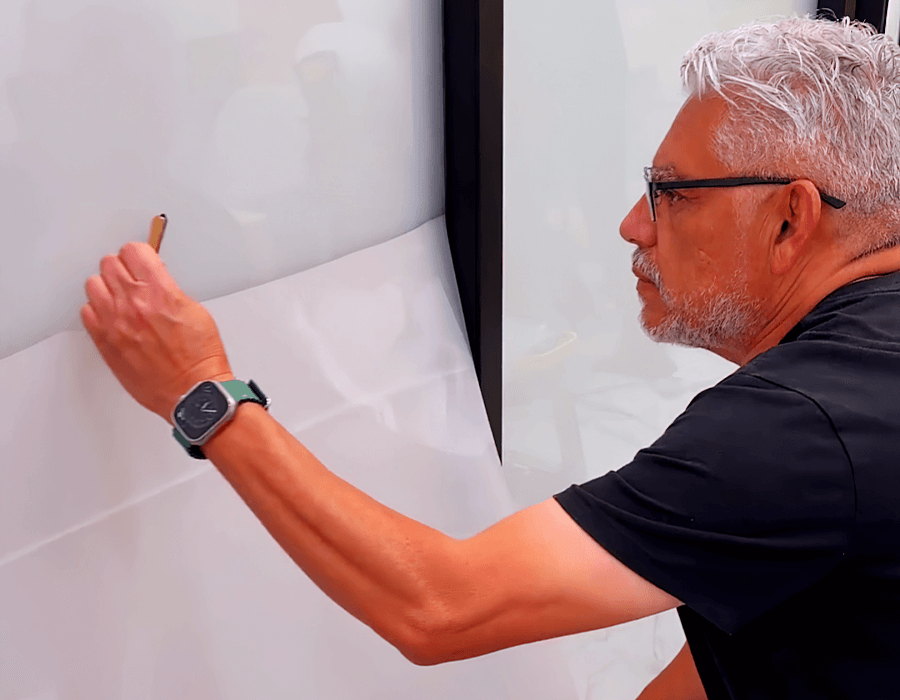
2. Measure and Cut the Film (if necessary)
- Measure the dimensions of the glass where the film will be applied.
- If needed, cut the self-adhesive film to fit the glass surface. Ensure the edges are smooth and even.
3. Peel Off the Backing Paper
- Carefully peel off the backing paper from the film, starting from one corner. Take care not to touch the adhesive side of the film to avoid contamination.
4. Apply the Film to the Glass
- Align the film with the top edge of the glass and gently place it onto the surface.
- Slowly smooth the film downwards, pressing it onto the glass to avoid air bubbles.
- Use a soft cloth or squeegee to ensure full adhesion, starting from the center and working outwards to the edges.
5. Remove Air Bubbles
- If any air bubbles remain, use a small needle or pin to puncture them and then smooth them out using the squeegee or cloth.
6. Connect the Film to Power
- Connect the electrode wires of the film to the power source. Follow the manufacturer’s instructions for proper connection to ensure the film functions correctly.
- Ensure all electrical connections are secure and insulated.
7. Test the Film
- Turn on the power and use the provided controller to toggle the film between its transparent and opaque states.
- Check for any imperfections in the film’s operation, such as uneven transitions or lack of response to the controller.
Applications:


Contact Us:
For more information, product specifications, or custom size requests, please feel free to contact us. Our team is ready to assist with tailored solutions to meet your specific needs and project goals.
FAQs
How do I choose between smart film and smart glass?


Can smart film/smart glass be customized in size?


How can smart glass and smart film be controlled? Can they be integrated with smart home systems?
What payment methods do you accept?

What are your shipping options and delivery times?